7 Simple Steps to Fix a Broken Nail Like a Pro
Ever snapped a nail right in the middle of growing out your perfect manicure? It’s frustrating, but don’t panic! You can fix a broken nail at home with a quick, actionable solution that pros swear by.
Using everyday items like a tea bag, you’ll have your nail looking seamless in no time. This method provides a sturdy patch that’s way better than just filing it down.
Let’s dive into these 7 simple steps to fix a broken nail like a pro.
What You’ll Need
Before starting, gather these basics:
- A clean tea bag (empty it out)
- Nail glue or clear base coat
- Scissors and tweezers
- Nail file and buffer
- Nail polish remover
- Your favorite nail polish and top coat
These items make the process smooth and effective for fixing a broken nail at home.
How do you treat a Broken Nail? Step By Step Guide
Step 1: Clean and Prep Your Nail
Start by wiping the broken nail with nail polish remover. This removes any oils, dirt, or old polish that could mess with adhesion. Let it dry completely. A clean surface is key to making your fix last longer. If the break is jagged, gently file the edges in one direction to smooth them out without causing more damage.

Step 2: Cut the Tea Bag Patch
Grab an empty tea bag and cut a small piece—just big enough to cover the crack in your broken nail. The thin, mesh material works like a pro patch because it’s flexible and absorbs glue well. Use scissors for a precise shape that matches the break. Toss any loose tea bits to keep things tidy. The 10 Most Stunning Celebrity Manicures of 2025.

Step 3: Apply Nail Glue to the Break
Dab a thin layer of nail glue directly onto the cracked area. If you don’t have nail glue, a clear base coat works in a pinch. Spread it evenly but don’t overdo it—you want just enough for the patch to stick. This step seals the break and sets the foundation for a strong repair.
Step 4: Place the Tea Bag Over the Glue
While the glue is still wet, use tweezers to carefully position the tea bag patch over the broken nail. Press it down gently to ensure full contact. Let the glue soak through the mesh for a secure bond. This creates an invisible reinforcement that pros use to fix broken nails without salon visits.

Step 5: Add an Extra Layer for Strength
Once the first layer dries (give it a minute), apply another coat of glue or base coat over the patch. This saturates the tea bag and makes it even tougher. For extra durability, especially if you’re active, repeat this once more. It’s a simple trick that turns your at-home fix into a pro-level solution.
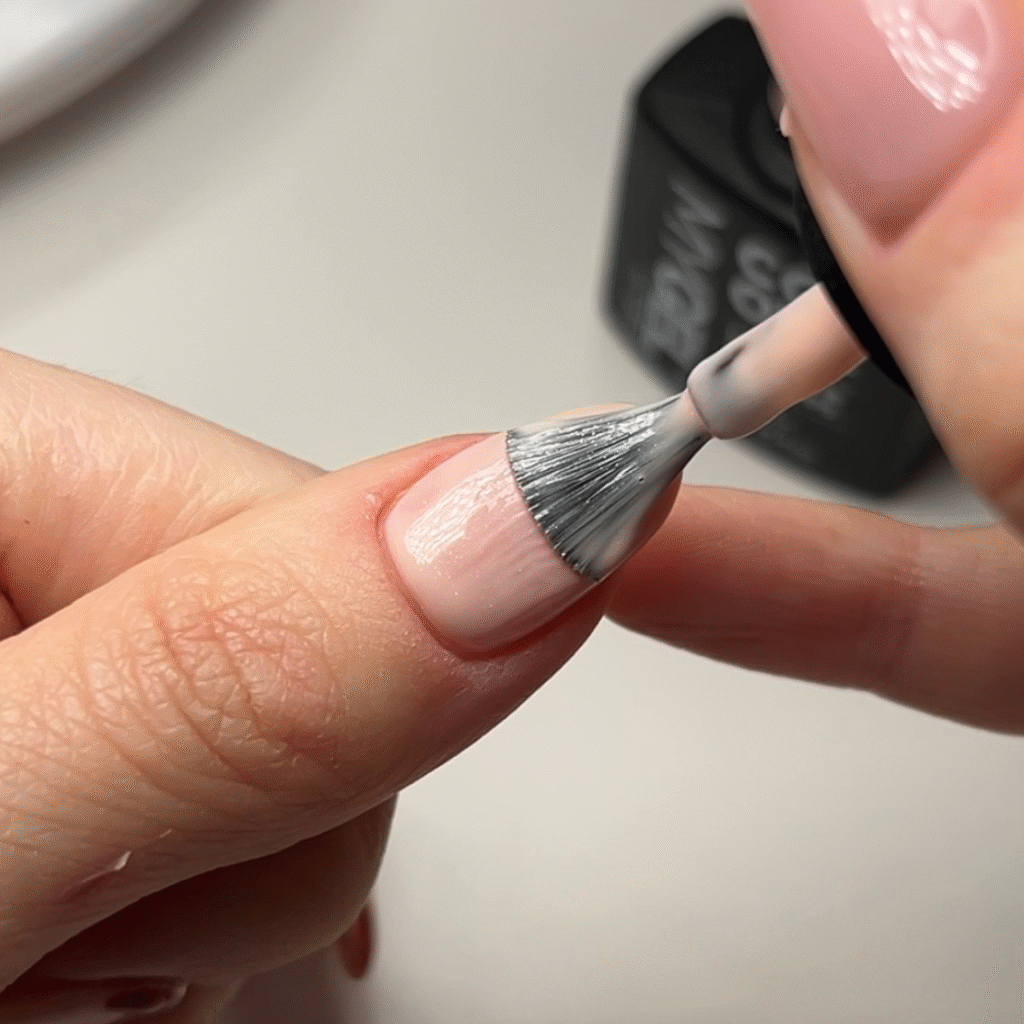
Step 6: Buff and Smooth the Surface
After everything’s dry, grab your nail buffer and gently smooth out any bumps or rough edges on the patched area. File lightly to blend it with the rest of your nail. This step ensures your fixed broken nail feels natural and looks polished—no one will spot the repair!
Step 7: Polish and Seal It Up
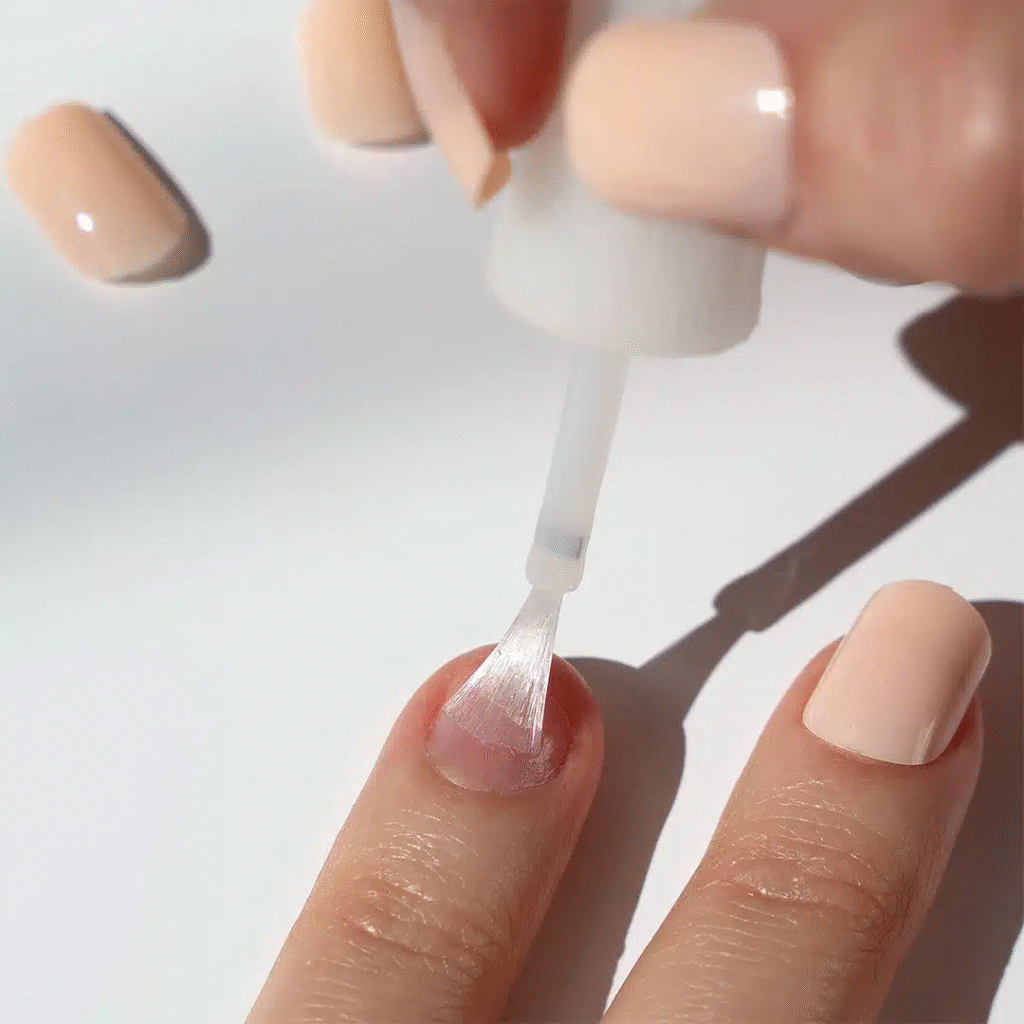
Finish by painting on your regular nail color to match the rest of your manicure. Add a shiny top coat for protection and shine. Let it dry fully, and you’re done! This final touch hides the fix completely, giving you that like-new look.
Bonus Tips to Prevent Future Breaks
To keep your nails strong:
- Moisturize cuticles daily with oil.
- Wear gloves for chores to avoid harsh chemicals.
- Use a strengthening base coat in your routine.
These habits make fixing a broken nail less frequent and your hands healthier overall.
In summary, these 7 simple steps to fix a broken nail like a pro turn a nail disaster into a quick win. With just a tea bag and some glue, you’ve got a reliable, at-home solution that’s actionable and effective. Next time a break happens, you’ll handle it like a boss—now go rock that flawless manicure!

